
Getting started with Azure ML

Getting Started with Azure ML (Machine Learning)

Introduction


Azure ML is a graphical based web Application which runs right in your browser and used to create amazing Machine Learning Models by simply the Clicks of Mouse. A simple and User-Friendly Drag and Drop Experience...

So Shall I start with Azure ML or start with some language like Python or R or something else?

The answer is quite simple that with Azure you can do almost everything you can do with the Programming languages. For questions about Selecting Azure or AWS (Amazon Web Services) visit HERE

Do I need to have a PHD in Probability and Statistics to start with Machine Learning?

Absolutely Not, Everyone can start with Machine learning

Getting Started

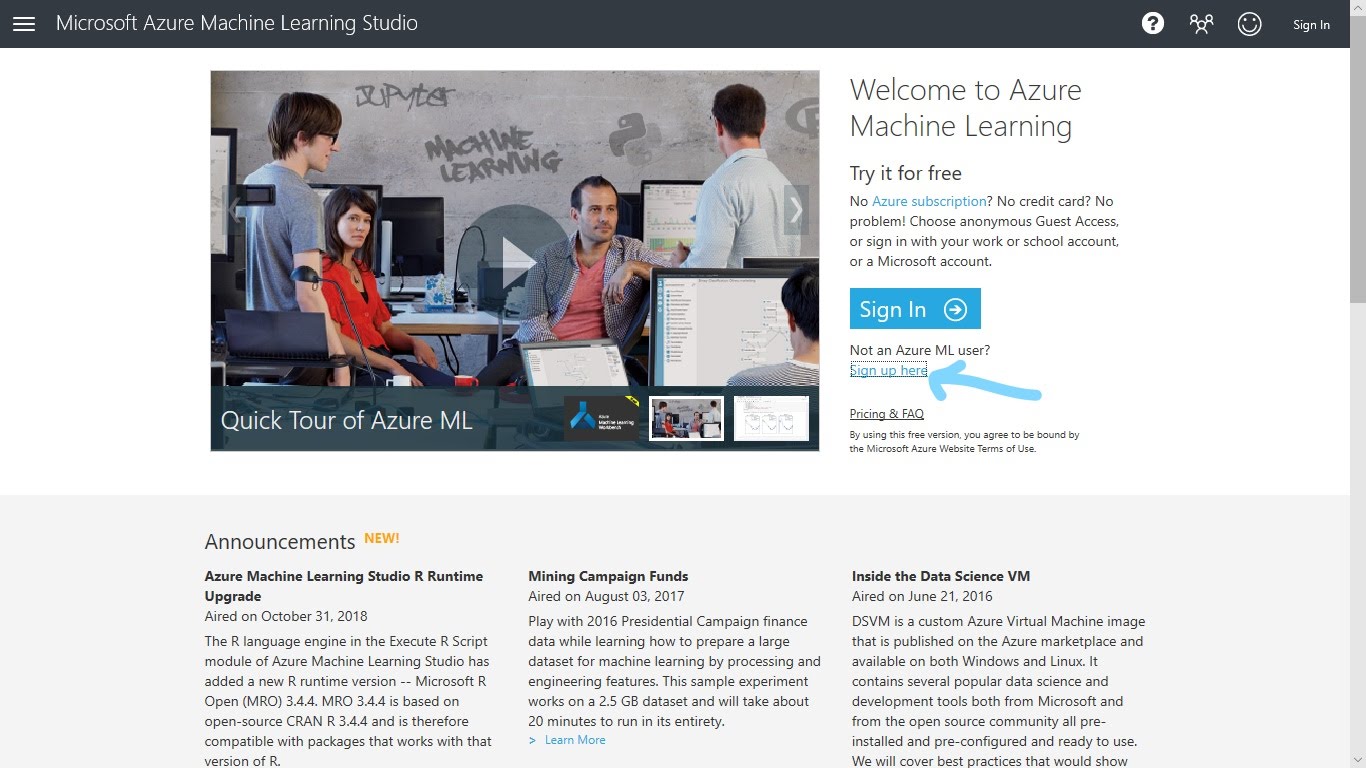
  1. Visit this URL: https://studio.azureml.net/


  2. Let's start by Signing In to the Azure Studio (for Existing users only)


    If you don't have a Microsoft Account then follow either of the following steps:
    1. Create a new Account by visiting this link HERE
    2. Or You can start your free trial of 08:00 hrs right there...
  3. After Seting- up the Workspace lets dive in by creating our First Experiment.
    Click on New
  4. Select Blank Experiment
  5. A blank Experiment created will look like this...
  6. Let's display some sample Data. Click on the Saved Data Sets from the toolbox. Then click Samples. From the samples select any of the CSV Dataset.(For now we will use Automobile Price Data.csv File)
  7. Drag this file on the working area and then right click on the dataset. Then click on 'Visualize'.
  8. Explore the Data shown in the popped-up dialog.

  9. Lets' explore the dataset by opening it in the Jupyter Notebook (Python 3). Right click on the Dataset, then Click on the 'Open in New Notebook' -> 'Python 3'.
  10. Select the Line No. 2 and Click on 'Run' to Display the Data from the CSV file.
  11. Data looks like this...
  12. Congratulations!
    You have completed the 1st Hands On post on Azure ML Studio.
Stay tuned for more Posts like this...

Comments

Popular posts from this blog

Creating a URL Shortener Deplyment on Azure (NodeJS) part-2

For reference to the previous post, please refer to this link : Connecting-to-our-Database Now let's head to the package that we added config in the npm install command, what it does is that it will look for default.json the file inside config (folder) which we created earlier that will consist of the global variables for our project. Now let's open that default.json file and place the below snippet in it: { "mongoURI": "<ConnectionStringHere>" } We'll replace the Connection String from the cluster's string from our Atlas Account (if you still don't have an account, click here to create one) After Logging in to the Atlas, create a free Cluster and add a database user in it Now use the below code in the db.js the file inside the config (folder): const mongoose = require('mongoose'); const config = require('config'); // Grab the Connection string URL from the default.json file const db = confi
Post-Event Resources- Ai Gaming with Microsoft Azure Heya  Folks hope you enjoyed the Event, do let us know in the comment section about your experience. As said, Here are the Post Event Resources for your continual Learning... Basic Concept of Ai (Theory) AI in Video Games: Toward a More Intelligent Game What is an API Open-Ai 5 Article Microsoft Cognitive- Getting started with Azure Cognitive Services Bundled Playlist on Youtube Microsoft Cognitive Vision Service- Try for Free online Some Videos by Siraj:  OpenAI Five vs Dota 2 Explained How to Install OpenAI's Universe and Make a Game Bot    How to Make an Amazing Video Game Bot Easily Hope you find the Resources resources... For folks interested in Microsoft Azure ML, Click Here

Signing Up for Azure 4 Students Account

Sign-Up: Microsoft Azure 4 Students Hola readers, In this post we're gonna learn how to create a new Microsoft Azure Account for Students. As a typical Azure account requires you to provide with the Credit Card details but due to the fact that not all the students around the globe have credit cards. So Microsoft have a provision for granting Azure Credits to students by the help of their Educational Account provided by their School/ Universities. Here are the steps provided to create a new Azure4Students Account (Though a video is also available to follow along): Text version of the SigningUp Process Visit: aka.ms/Azure4Students Sign in with your Microsoft Account or create a Microsoft Account if you don't have one After successfully logging in, enter your Country code & mobile number. Then click on the Verification options (Text/ Call) for your Identity verification. Next comes the Student Verification. This can be done by either: Providing your scho
Counter Widget